Solving Common Power Automate Problems with HTML Tables (Part 3)
")
Part 3 of 5
Intro
Power Automate allows Microsoft 365 users to automate tasks and streamline workflows across hundreds of applications. For beginners, navigating some of the capabilities can present challenges, especially when it comes to managing HTML tables. Throughout this series, we’ll solve the 5 most common challenges when using HTML tables in Power Automate.
‘Create HTML Table’ Action
We begin by creating an HTML table action in Power Automate. To see instructions for this, start by reading Part 1 linked here.
Problem 2: Formatting the Table
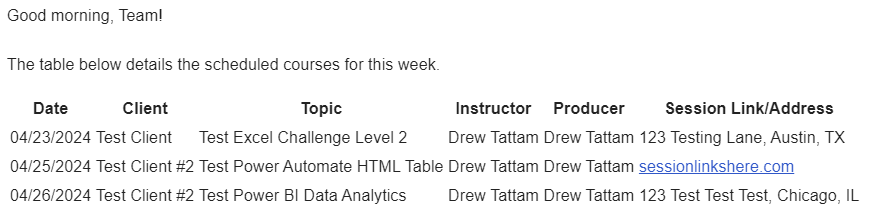
The output of the HTML table action will have no formatting.
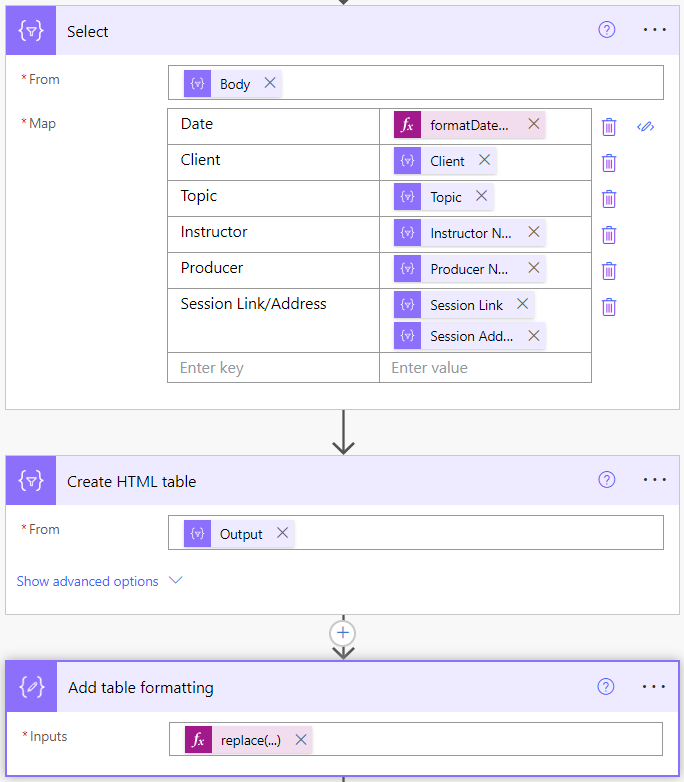
I like to add a Compose action after the HTML table has been created to add a table border and padding for text. Preview how this looks in my flow below.
- This example shows a table with only a border added to the formatting.
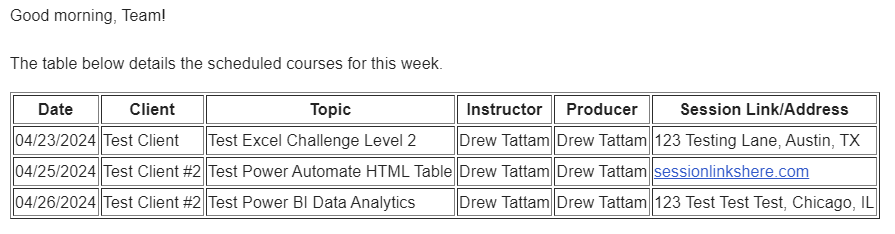
If this is the look you’re wanting, use this function:
replace(body('Create_HTML_table'),'<table>','<table border="1"')Important Note: the body(‘Create… portion of the formula is a dynamic value from my Flow.
2. This example shows a table with a border and padding added to the formatting.
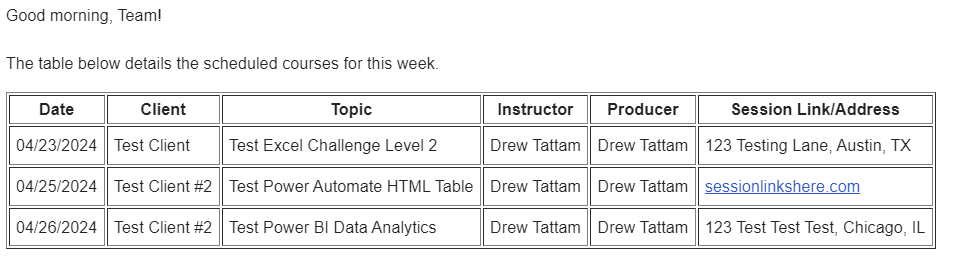
If this is the look you’re wanting, use this function:
replace(replace(body('Create_HTML_table'),'<table>','<table border="1"'),'<td>','<td style="padding:5px;">')Important Note: the body(‘Create… portion of the formula is a dynamic value from my Flow.

Next Level: take this idea one step further by using CSS to format your table.
Here’s how you do this:
- Remove the formula from the existing Compose action (if you completed either of the first two options above)
- Enter the CSS code below:
<style>
Table {
  font-family: Arial, Helvetica, sans-serif;
  background-color: #EEEEEE;
  border-collapse: collapse;
  width: 100%;
}

Table td, Table th {
  border: 1px solid #ddd;
  padding: 3px 3px;
}

Table th {
  font-size: 15px;
  font-weight: bold;
  padding-top: 12px;
  padding-bottom: 12px;
  text-align: left;
  background-color: #1C6EA4;
  color: white;
}
</style>
3. Place your CSS compose before the outputs from the table like this:
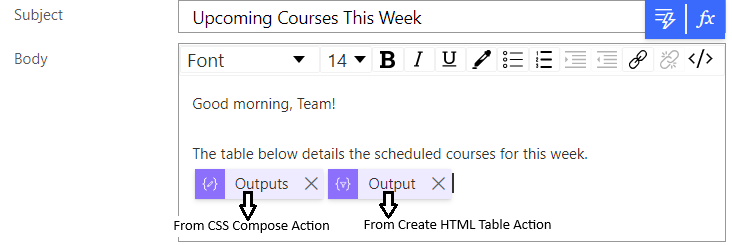
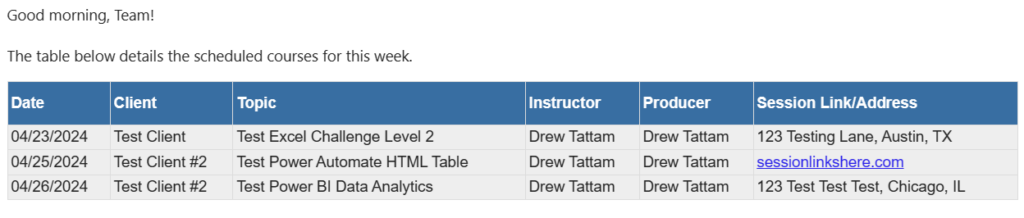
Now, you end up with a table that looks like this in your email:
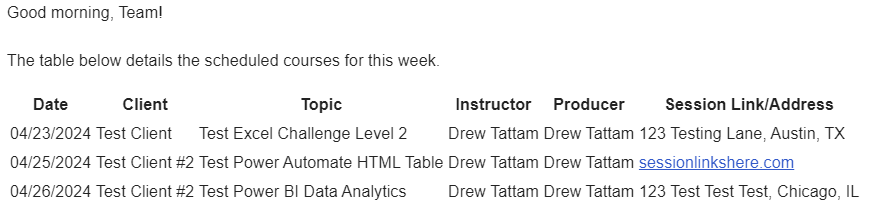
Important Note: Gmail does not like this CSS formatting option. If your organization uses Gmail your email will show up like the image below. Please use either of the two options with the replace functions if you use Gmail!
If you’re interested in diving more into CSS formatting options, this site is a great first step!
Summary
I hope this tip is useful next time you’re building a Flow in Power Automate that has an HTML table. If you’re not an existing Knack Training client and want to bring training like this to your company, you may be interested in our Power Automate training track! Download the informational one pager for the course track here and get in touch with the form below and a member of our team will reach out to you.
Related everyday office posts
Solving Common Power Automate Problems with HTML Tables (Part 1)
Part 1 of 5 Intro Power Automate allows Microsoft 365 users to automate tasks and streamline workflows across hundreds of...
Solving Common Power Automate Problems with HTML Tables (Part 2)
Part 2 of 5 Intro Power Automate allows Microsoft 365 users to automate tasks and streamline workflows across hundreds of...
Solving Common Power Automate Problems with HTML Tables (Part 4)
Part 4 of 5 Intro Power Automate allows Microsoft 365 users to automate tasks and streamline workflows across hundreds of...