Style Emergency! Collaborating and Automating in Microsoft Word with Styles
My husband and I have an ongoing “discussion” about the correct way to fold a towel. I got into the habit of folding towels in a particular way many years ago, because doing it that way produced a nice, neat stack that fit nicely and neatly in the closet I happened to be using for linens at that time. My husband, on the other hand, folds towels the way he was taught when he was a child.
Truth be told, I don’t care how the towels get folded, as long as someone folds them. However, I do like all of the towels to be folded the same way so that they stack neatly. Otherwise, the stack topples over every time we open the linen closet.
I share this little anecdote about my marriage as an analogy for the way those of us who are regular users of MS Word often approach styles and formatting. And much like my stack of towels, when you are collaborating with other users, it’s best for everyone to approach tasks in the same way. Making good use of styles in MS Word allows you to:
- Be more efficient, since no one has to come along after the fact to clean up and standardize formatting.
- Produce a more polished and professional finished product.
- Automate processes such as generating and updating the table of contents.
Let’s look at a frustratingly common scenario:
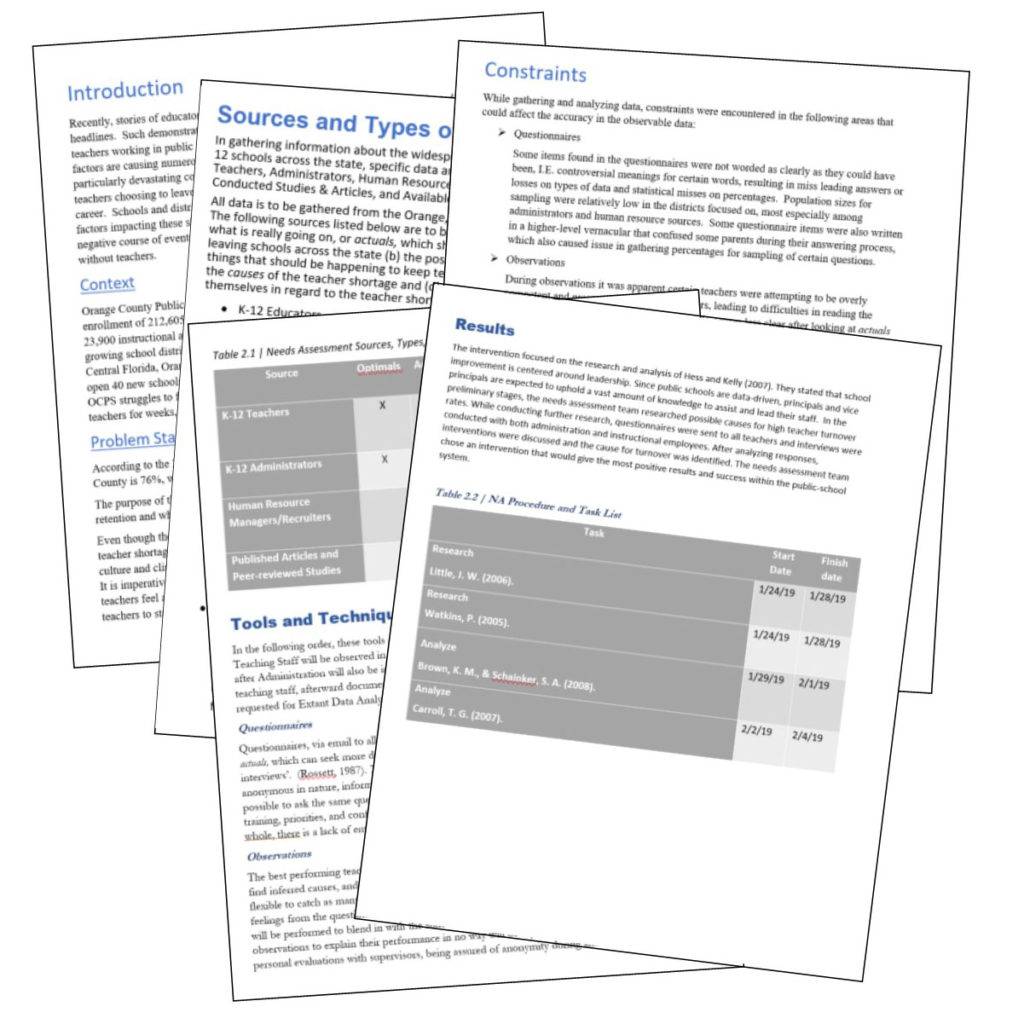
Your team has been assigned a big project and decides to divide and conquer, with each person writing a section of the final report. All is going well until the document is assembled. That’s when everyone realizes there are a few problems:
- Each person has formatted headings slightly differently.
- The team neglected to agree in advance on some really basic things like which font would be used for body paragraphs. Some writers have manually changed the font to Times New Roman, while others have stuck with the default Calibri but changed the font size, and one outlier went with Garmond.
- The caption on every table is formatted differently.
- The table of contents has to be built manually and checked and updated with every revision of the document.
Basically, it’s a mess. It can be cleaned up, however, and it’s not even difficult.
Styles to the Rescue: Consistent Formatting
On the right side of the Home tab is where you’ll find the Styles group. Notice that there are predefined styles for all kinds of paragraphs, from Normal to several levels of headings and more.
When you click inside each paragraph, the style associated with that paragraph will highlight in the Styles gallery.
However, in our document, no matter which paragraph we select, the Styles gallery still says Normal.
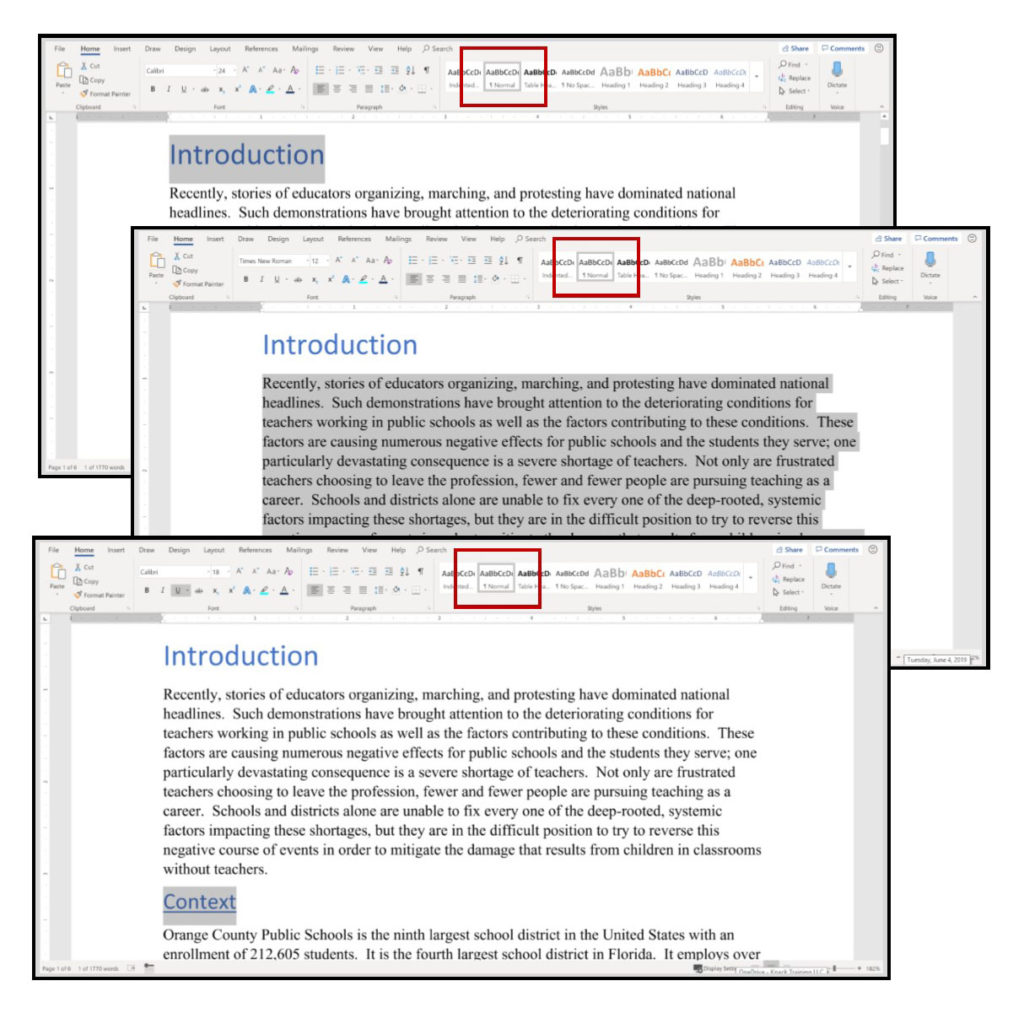
That happened because none of the contributors applied styles to change the paragraph or font formatting. Instead, all of the writers went ahead and folded those towels the way they liked them best, manually changing font sizes and colors as they went along. Our task, then, is to apply appropriate styles to each type of paragraph, beginning with the headings.
- Click inside the paragraph.
- From the Styles gallery, select the style you want to apply. In this case, I’m selecting Heading 1, since this is a major heading in my document.
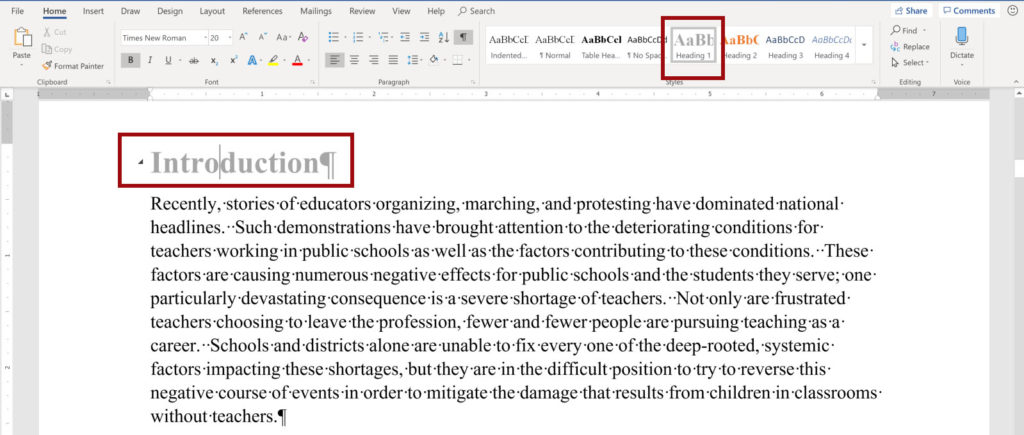
Then I’ll do the same thing for the remaining headings, setting each one to the correct style.
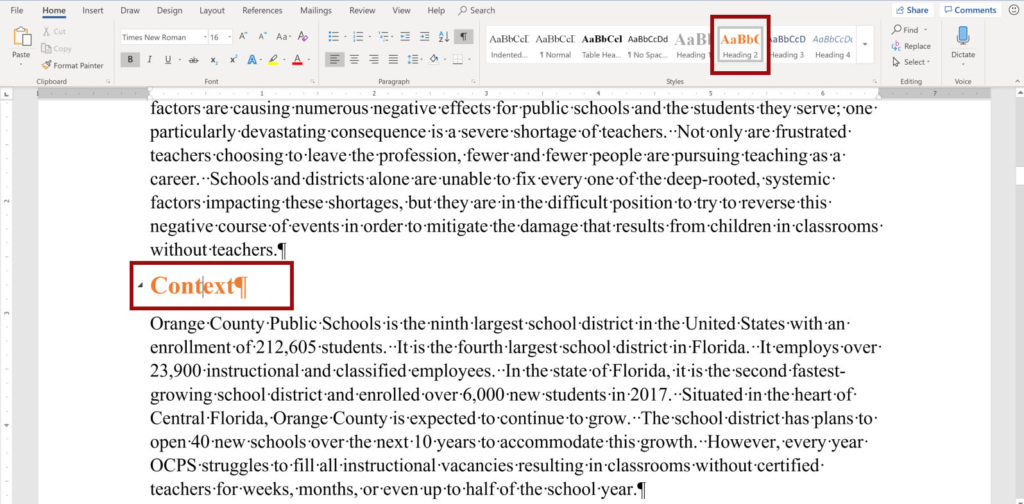
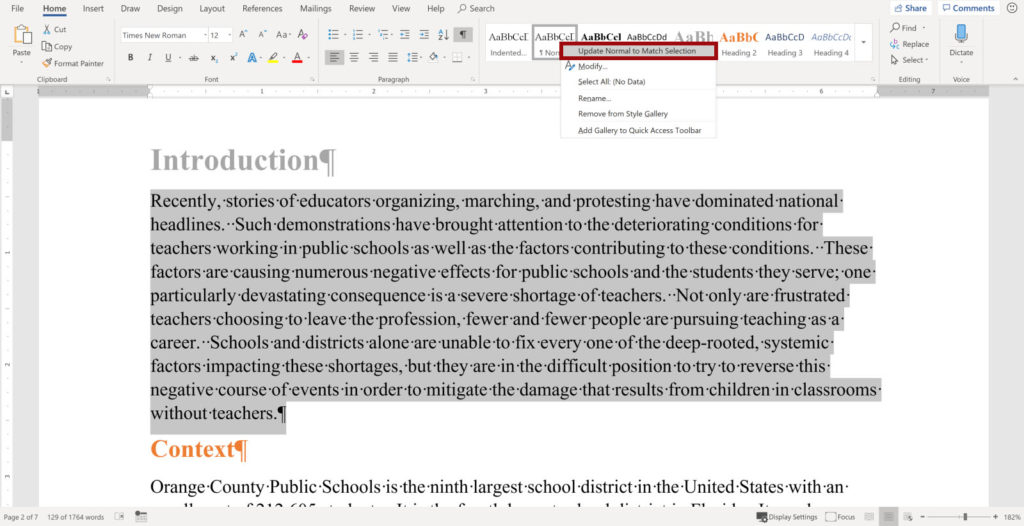
Once I am finished with the headings and captions, I’ll decide which version of the body paragraphs I like and make that the standard for the whole document. I prefer the Times New Roman font.
- Click inside the paragraph.
- From the Styles gallery, right click on Normal.
- Select Update Normal to Match Selection.
Generating the Table of Contents
Now that we have a properly formatted document, generating and, when necessary, updating the table of contents requires just a few click of the mouse.
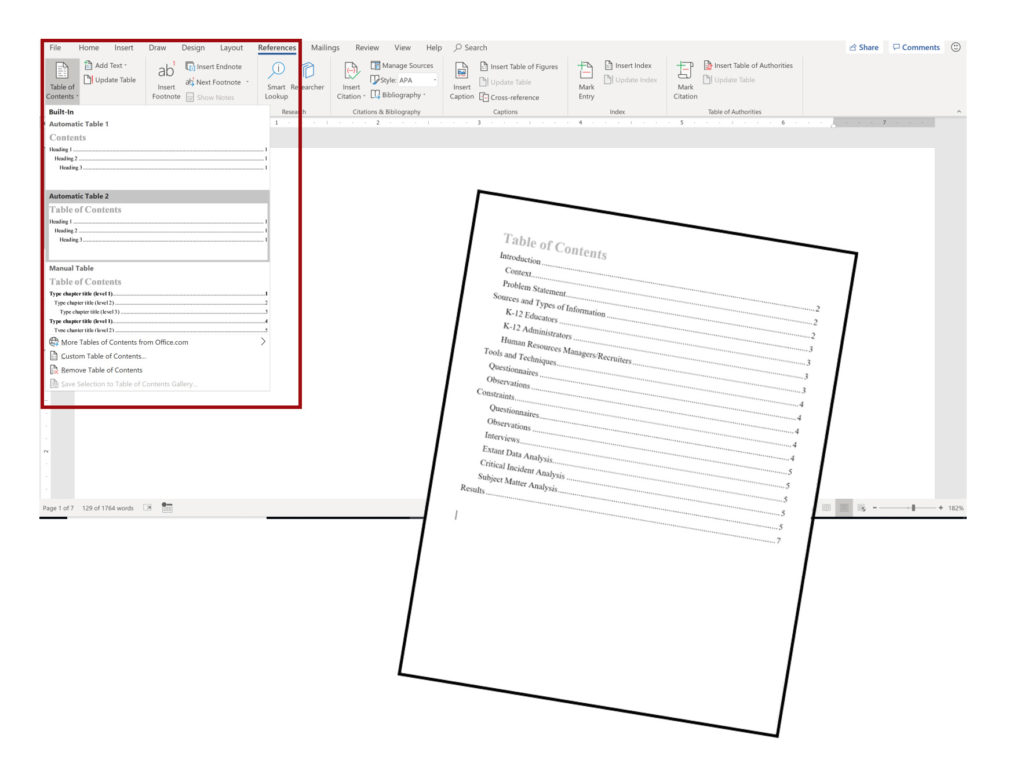
- Place the insertion point at the place in your document where you want the table of contents to go. I’ve created a blank page at the beginning of my document.
- From the References tab, click the Table of Contents button.
- Select the style of table you want for your document.
Obviously, we’re doing a quick overview here of the basic steps. We will cover the whole process, including how to define a new style for things like captions and customizing the table of contents, in more detail during our webinar this Thursday.
Learn More
Please join us for the free Knack Training webinar on Thursday, June 6, 2019, at 2:00 pm EST to learn more about the benefits of creating consistent formatting with MS Word styles. We will cover the tools and techniques discussed here and more and answer questions you may have about these topics. The webinar is free, but registration is required.